
Table of Contents >> Show >> Hide
- Quick Answer
- Method 1: Use the Photos App and Take a Screenshot
- Why This Method Works So Well
- The Biggest Limitation: Screenshot Quality
- How to Get a Better Screenshot from a Video
- Method 2: Use a Dedicated Frame-Grabbing App for Better Quality
- Method 3: Use a Mac if You Want the Cleanest Apple Workflow
- Can You Take a Photo While Recording Video on iPhone?
- What About iPad?
- Alternative for the Future: Use Live Photos When You Can
- How to Choose the Best Method
- Common Problems and Easy Fixes
- Final Thoughts
- Real-World Experiences: What It Is Actually Like to Pull a Still Image from Video on iPhone or iPad
Sometimes the best photo you “took” was not technically a photo at all. It was hiding inside a video, somewhere between a laugh, a jump, a dramatic hair flip, or that one split-second expression your friend swears you should never post online. The good news: you can absolutely pull a still image from a video on an iPhone or iPad. The mildly annoying news: Apple still makes this easier on a Mac than on iPhone or iPad, so you need to know the smartest workaround.
If you are trying to save a perfect frame from a family video, sports clip, screen recording, or social media draft, this guide walks you through the easiest built-in method, when to use a dedicated frame-grabber app, how to improve image quality, and what to do next time so Future You does not have to fish through 900 frames like a detective in pajama pants.
Quick Answer
The fastest way to get a still image from a video on iPhone or iPad is to open the video in the Photos app, scrub to the exact frame you want, pause it, and take a screenshot. Then crop the screenshot so only the image remains. It is simple, free, and built right into iOS and iPadOS.
That said, screenshots are not always the highest-quality option. If you want the sharpest possible frame for printing, thumbnails, design work, or professional content, a dedicated frame extraction app is usually the better move.
Method 1: Use the Photos App and Take a Screenshot
This is the easiest built-in way to capture a still image from a video on iPhone or iPad. No extra app. No subscription. No mysterious “Pro Max Ultra Frame Wizard” required.
Step 1: Open the video in Photos
Launch the Photos app and find the video you want. Tap it to open it full-screen. If the video starts playing immediately, tap once to reveal the controls.
Step 2: Scrub to the frame you want
Drag the playhead along the timeline at the bottom of the screen until you land close to the moment you want. For better precision, move slowly. If needed, tap Edit first, because the frame viewer can make it easier to move through the clip with more control.
Step 3: Pause on the exact image
Once you find the frame, pause the video. This part matters. A screenshot taken while the clip is still moving often gives you a blurry mess that looks like modern art, and not in a profitable way.
Step 4: Take a screenshot
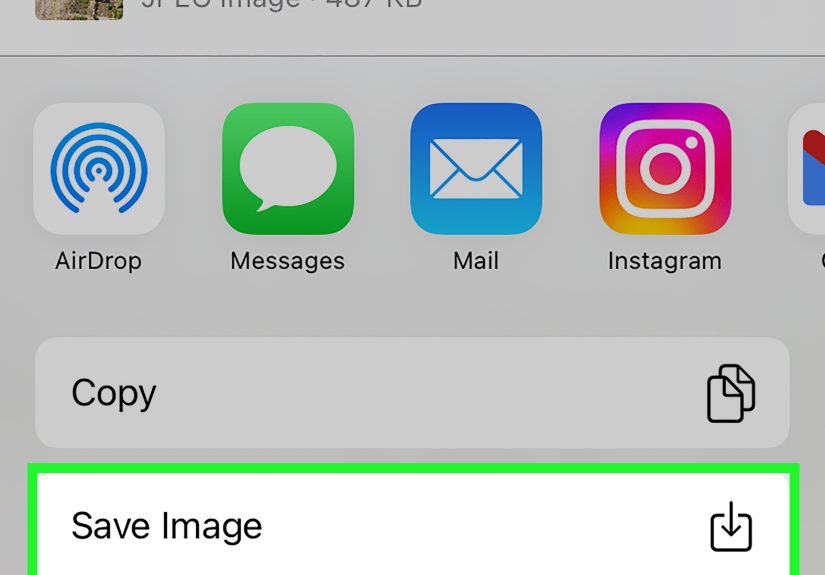
Now capture what is on your screen:
- iPhone with Face ID: Press the side button and volume up at the same time.
- iPhone with a Home button: Press the side or top button and the Home button at the same time.
- iPad without a Home button: Press the top button and either volume button at the same time.
- iPad with a Home button: Press the top button and the Home button at the same time.
Step 5: Crop the screenshot
After you take the screenshot, tap the thumbnail preview. Crop out the playback controls, black bars, or anything else cluttering the image. Save it, and you now have a still image from your video.
Why This Method Works So Well
The screenshot method is popular for one big reason: it is ridiculously convenient. You can do it in seconds, directly on your iPhone or iPad, without sending the video anywhere else. It is perfect for everyday use, especially when you want to save a reaction shot, a pet moment, a paused workout pose, or a frame from a tutorial video.
It is also ideal for social media, blog illustrations, quick references, and casual sharing. In other words, if the image only needs to look good on a phone, tablet, or website, a screenshot is often more than good enough.
The Biggest Limitation: Screenshot Quality
Here is the trade-off. A screenshot captures what is displayed on your screen, not always the full original quality of the video frame itself. That means your still image may end up lower in resolution than the underlying video, especially if the video is zoomed, letterboxed, or playing inside an interface with controls.
So if your plan is to print the image, use it in marketing materials, crop in tightly later, or make a polished thumbnail, the screenshot method can feel a little soft. Not terrible. Just not “wow, what lens did you use?” good.
How to Get a Better Screenshot from a Video
If you are sticking with the built-in method, a few tricks can make your still image look much better:
Use the cleanest frame possible
Pause when the subject is still, eyes are open, and motion blur is minimal. Sports videos and action shots can take patience. This is your sign to scrub slowly, not like you are searching for the chorus in a song.
Crop carefully
After taking the screenshot, remove controls, borders, and empty space. A tighter crop usually makes the image feel more intentional and polished.
Capture in bright scenes
Well-lit video frames usually produce cleaner stills. Dark footage tends to look grainier when turned into a screenshot.
Start with high-quality video
If the original video is sharp, stable, and well exposed, the frame you save will naturally look better. Garbage in, garbage out. Silicon Valley did not invent that principle; cameras have been living it for years.
Method 2: Use a Dedicated Frame-Grabbing App for Better Quality
If image quality matters more than convenience, use an app designed to extract stills from video. These apps are made for frame-by-frame selection and often save the chosen image more cleanly than a plain screenshot.
Depending on the app, you may get:
- More precise frame selection
- Cleaner exports without playback controls
- Higher-quality saved images
- Less cropping and manual cleanup
This route makes sense if you are pulling stills for YouTube thumbnails, product demos, client work, presentations, or any project where details matter. A dedicated frame extraction app is also helpful when the video contains fast movement and you need to land on one exact frame instead of playing screenshot roulette.
Before installing anything, check reviews, permissions, and export options. Some apps are free but limited. Others charge for full-resolution output. Annoying? Sometimes. Useful? Also yes.
Method 3: Use a Mac if You Want the Cleanest Apple Workflow
If you also have a Mac, Apple’s Photos app on macOS offers a true frame export option. That makes it a cleaner workflow for people who want a still image from video without relying on screenshots or third-party iPhone apps.
Here is the idea: sync the video to Photos on your Mac, open the video there, move to the exact frame, and export that frame as a picture. It is not as convenient as doing everything on your iPhone or iPad, but it is a strong option when quality matters and you want to stay in Apple’s ecosystem.
So yes, Apple knows this is possible. It just has not gifted the exact same convenience to iPhone and iPad users in the Photos app. Classic.
Can You Take a Photo While Recording Video on iPhone?
Yes. On iPhone, you can take a still photo while recording video in the Camera app. When you are in Video mode and actively recording, a white shutter button appears alongside the recording controls. Tap it, and your iPhone saves a photo without stopping the video.
This is not the same thing as extracting a still image later, but it is often the better move when you know in the moment that you might want both formats. You get the video and a separate image without doing any post-capture detective work.
There is one catch: those stills may not match the quality of a standard photo taken in Photo mode. They are convenient, but not always your absolute best-quality option.
What About iPad?
On iPad, the safest built-in answer is still the screenshot method. Open the video, scrub to the right frame, pause, capture the screen, and crop. That works across iPad models and does not require special settings or extra apps.
Because iPad camera and interface behavior can vary by model and version, it is smarter to think of iPad as a device for reviewing, scrubbing, and screenshotting video frames rather than assuming every video capture convenience from iPhone will be mirrored exactly.
Alternative for the Future: Use Live Photos When You Can
If your goal is to save one perfect moment rather than a long video clip, consider using Live Photos next time. A Live Photo captures a short burst of motion around the image, and you can later choose a better key frame or duplicate it as a still photo.
That will not help you extract a frame from an existing regular video, but it is fantastic for those tiny moments where you want a photo with a little insurance. Kids, pets, blinking adults, and anyone incapable of holding still for one second are the natural habitat of Live Photos.
How to Choose the Best Method
Not sure which path to take? Use this simple rule:
- Use a screenshot if you want the fastest free method on iPhone or iPad.
- Use a frame-grabber app if quality and precision matter more.
- Use a Mac if you want a cleaner Apple-native export workflow.
- Use the shutter while recording video on iPhone if you are still filming and want a separate still immediately.
- Use Live Photos next time if you are trying to catch a tiny moment instead of a full video scene.
Common Problems and Easy Fixes
The screenshot looks blurry
Go back and pause on a cleaner frame. Motion blur in the original video will show up in the still image too. Scrub more slowly and choose a moment with less movement.
The playback controls are in the shot
Tap the screen to hide controls before taking the screenshot. Then crop again if anything still slips through.
The still image is too small
That is usually a sign you need a dedicated frame extraction app or a Mac-based export instead of a screenshot.
The frame is too dark
Edit the saved image in Photos. A small bump in exposure, brilliance, and sharpness can help more than you expect.
Final Thoughts
If you want to get a still image from a video on iPhone or iPad, the easiest answer is also the one most people end up using: pause the video, take a screenshot, and crop it. It is fast, free, and good enough for a huge number of everyday situations.
But if you care about the cleanest detail, the sharpest output, or a more professional result, go with a frame extraction app or use a Mac to export the frame more precisely. The right method really depends on whether you need “fast and easy” or “clean and gorgeous.” Both are valid. One just involves fewer taps and slightly more chaos.
In other words, your perfect photo may already be sitting inside your video library, waiting patiently for you to rescue it. Or at least pause it at exactly the right millisecond.
Real-World Experiences: What It Is Actually Like to Pull a Still Image from Video on iPhone or iPad
In real life, getting a still image from a video on an iPhone or iPad feels less like a technical task and more like a treasure hunt. People usually try it after recording something they did not want to interrupt: a toddler’s first steps, a dog catching a treat, a surprise birthday reaction, a basketball move, or a quick demo for work. The video is great, but somewhere inside it is the frame. The one with the best smile, the clearest motion, or the expression everyone wants to keep forever.
What most users discover first is that the screenshot method feels surprisingly satisfying. You scrub, pause, capture, crop, and boom: instant result. For everyday moments, it works well enough that many people never bother with a third-party app. The saved image goes straight into Photos, ready for messages, social posts, blog posts, or a group chat where someone immediately replies, “Please delete this.”
Another common experience is realizing how much timing matters. A fraction of a second too early and someone’s eyes are half closed. A fraction too late and the subject is blurred, turned away, or making a face that belongs in a witness protection file. The process teaches patience fast. People who thought they would grab the perfect still in five seconds often end up scrubbing back and forth like editors on a tiny glass timeline, muttering things like, “No, almost… no, too weird… wait, there.”
Users also notice the difference between casual and professional needs. For everyday sharing, screenshots usually look perfectly fine. On a phone screen, they can seem crisp, bright, and completely usable. But once someone tries to crop that image heavily, print it, or use it as polished marketing art, the limits show up. That is the moment many people understand why frame extraction apps exist. The screenshot got them close; the dedicated tool gets them clean.
There is also a learning curve around expectations. Some people assume iPhone or iPad will have a built-in “Save Frame as Photo” button hiding somewhere in Photos. When they do not find it, there is a brief phase of confusion, followed by experimentation, followed by acceptance. Usually with a little dramatic sigh. After that, the workflow becomes second nature.
One more real-world lesson: the quality of the original video matters more than most people expect. Stable footage, good lighting, and minimal motion blur make frame capture much easier. Shaky low-light video, on the other hand, produces stills that look like they were rescued from a security camera in a suspense movie. So the experience of pulling a still from video often changes how people shoot in the future. They hold the device steadier, film in brighter light, and sometimes take a photo while recording just to be safe.
In the end, the experience is a practical one. It is not glamorous, but it is genuinely useful. Once people learn how to extract a still image from a video on iPhone or iPad, they start doing it all the time. It becomes one of those small mobile tricks that quietly saves the day.


