
Table of Contents >> Show >> Hide
- Before You Start: What to Know About Android Photo Markup
- Way 1: Use Your Android Phone’s Built-In Photo Editor
- Way 2: Use a Third-Party App to Draw on Photos
- Which Method Is Better?
- Tips for Drawing on Photos Without Making a Mess
- Common Problems and How to Fix Them
- Specific Examples of How People Use This Feature
- Real-World Experiences: What It’s Actually Like to Use These Two Methods
- Conclusion
- SEO Tags
If you have ever tried to circle a typo in a screenshot, doodle a mustache on your friend’s selfie, or point an arrow at the one setting your parents absolutely must tap, you already know this truth: sometimes a picture needs a little extra drama. Fortunately, Android makes it pretty easy to draw on pictures. The tricky part is that the exact steps can vary depending on your phone, your gallery app, and whether you want quick notes or full-blown creative freedom.
The good news is that there are really only two main ways to do it. You can use the built-in editor that comes with many Android phones, or you can use a third-party app designed for drawing, annotation, and photo editing. Both methods work. The best one depends on whether you want speed or extra tools.
In this guide, you will learn how to draw on pictures on Android, when to use each method, what to do if the markup option seems to have vanished into the digital void, and how to make your edits look clean instead of like a toddler discovered your phone during snack time.
Before You Start: What to Know About Android Photo Markup
Android is not one single experience. A Google Pixel, a Samsung Galaxy, a Motorola phone, and a budget Android handset may all handle photo editing a little differently. On many devices, you can draw directly on a picture using Google Photos, the phone’s Gallery app, or a built-in Markup feature. On others, you may need to tap through a few menus before the drawing tools appear.
That means the wording may vary, but the overall process stays familiar. Look for terms like Edit, Markup, Draw, Doodle, Pen, or the little pencil icon. If you spot one of those, you are in business.
For SEO-minded readers and normal humans alike, the short version is this: if you need to annotate a photo on Android quickly, use the built-in option. If you want more colors, brush styles, text effects, arrows, shapes, or creative polish, use a third-party editor.
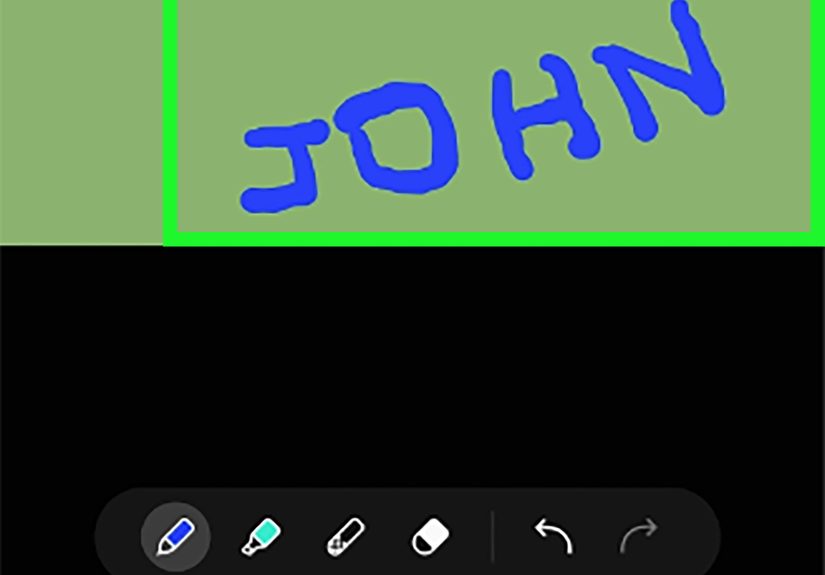
Way 1: Use Your Android Phone’s Built-In Photo Editor
This is the fastest and easiest option. If your goal is simply to draw on a screenshot, highlight part of a photo, scribble a reminder, or add a quick label before sending the image to someone, your built-in editor is usually the best choice.
How to Draw on a Picture Using Google Photos or Your Gallery App
- Open the picture you want to edit on your Android phone.
- Tap Edit. This is usually at the bottom of the screen or shown as a pencil icon.
- Look for Markup, Tools, or Draw. On some phones, the drawing tools live directly under Edit. On others, you may need to tap Tools first.
- Choose a drawing tool, such as a pen, highlighter, or text tool.
- Select a color if the app gives you that option.
- Draw with your finger or stylus on the image.
- Undo mistakes if needed. Most editors offer an undo arrow, which is the grown-up version of a time machine.
- Save a copy or save the edited image, depending on your phone’s settings.
On a lot of Android devices, especially those using Google Photos, this method is perfect for basic tasks like circling a product in a shopping screenshot, underlining a recipe note, or writing “THIS ONE” on a group photo so nobody asks who you meant. Samsung phones also tend to make markup easy through the Gallery editor, often with doodle-style drawing tools built in.
When the Built-In Method Works Best
- Annotating screenshots
- Drawing quick arrows or circles
- Adding simple notes before sharing an image
- Making fast edits without downloading another app
- Using an S Pen or stylus on supported devices
Pros of Using Built-In Android Markup
The biggest advantage is convenience. You do not need to install anything, create an account, or sit through a pop-up begging you to unlock “Premium Ultra Diamond Brush Pack Max.” It is already on your phone, and it is usually quick enough for everyday tasks.
Built-in tools are also great for privacy-minded users. If all you want is to draw on a picture and send it to a friend, editing locally on your device can feel cleaner and simpler than uploading your image into a separate app.
Cons of Using Built-In Android Markup
The downside is that these tools are often pretty basic. You might get a pen, a highlighter, maybe text, and not much else. Some phones do not let you add neat shapes. Some do not offer many brush sizes. Some make you feel like you are finger-painting while wearing oven mitts.
If you want a more polished result, or if you need layers, stickers, multiple fonts, shape tools, or stronger creative control, you will probably prefer the second method.
Way 2: Use a Third-Party App to Draw on Photos
If the built-in tools feel too limited, a third-party app is the upgrade path. This is the best option when you want to create cleaner annotations, more stylish doodles, or graphics that look intentional instead of rushed. Apps like Canva, Picsart, and dedicated markup tools are popular because they offer more flexibility for drawing on photos on Android.
For simple annotation and drawing, Canva is especially helpful because it supports drawing tools on mobile, while other markup apps focus on arrows, shapes, labels, and freehand notes. In plain English, that means you can go from “rough circle around a button” to “actually useful visual explanation” very quickly.
How to Draw on a Picture with a Third-Party App
- Download a photo editing or markup app from Google Play.
- Open the app and import your photo.
- Find the drawing or annotation tools. These may appear as Draw, Pen, Marker, Brush, Shapes, or Markup.
- Choose your brush type, size, and color.
- Draw directly on the image using your finger or stylus.
- Add extras like arrows, text boxes, highlights, stickers, or shapes if the app supports them.
- Save or export the finished image to your gallery.
Why Use an App Instead of the Built-In Tool?
The answer is control. Third-party apps are usually better if you want your markup to look clean, readable, and deliberate. Let’s say you are making a quick tutorial for a coworker. You want an arrow pointing to a menu, a short caption, maybe a highlighted area, and lines that do not look like they were drawn during a bumpy bus ride. This is where outside apps shine.
They are also useful for social content. If you are making memes, story graphics, image quotes, or step-by-step visuals, you will appreciate having more font choices, better layout tools, and more room to experiment.
Best Situations for Third-Party Drawing Apps
- Creating tutorials or how-to visuals
- Adding clean arrows, boxes, or labels
- Designing social media graphics
- Making polished annotations for school or work
- Turning a plain image into a more creative design
Which Method Is Better?
Both methods are useful, but they solve slightly different problems.
Use the built-in editor if you want speed. It is the best choice when you need to mark up a screenshot, circle something important, or add a note before sharing the image right away.
Use a third-party app if you want flexibility. It is better for more detailed edits, better-looking annotations, or anything that needs more than a basic pen tool.
If you are still undecided, here is the easiest rule of thumb: quick = built-in, polished = app.
Tips for Drawing on Photos Without Making a Mess
Drawing on pictures sounds simple, but a few small habits make a big difference.
Zoom In Before You Draw
If you are circling a tiny detail or pointing to a small icon in a screenshot, zoom in first. Your lines will be more precise, and you will avoid drawing a giant spaghetti loop around the wrong thing.
Use Contrasting Colors
Red, yellow, white, and bright blue usually stand out well. If your photo has a busy background, choose a color that pops. A black scribble on a dark photo is basically the visual equivalent of whispering into a hurricane.
Keep It Simple
Most people do not need ten arrows, six circles, and a paragraph of text on one image. One or two clear annotations are usually more effective than turning your photo into a conspiracy board.
Save a Copy When Possible
If your phone or app gives you the option to save a copy, use it. That way, your original photo stays untouched, which is especially smart if you might want to edit it again later.
Use a Stylus If You Have One
If you own a stylus or an S Pen, use it. It makes detailed markup much easier and helps your lines look more intentional.
Common Problems and How to Fix Them
I Can’t Find the Markup Option
Try opening the photo in Google Photos instead of a file manager or chat app preview. Then tap Edit and look for Markup or Tools. If you use a Samsung phone, open the image in Gallery and tap the edit pencil.
The Drawing Tools Are Too Basic
That is normal on many phones. Switch to a third-party app if you need more precision, shapes, or design features.
My Finger Drawing Looks Crooked
Welcome to the club. Try zooming in, slowing down, or using a stylus. Some apps also let you undo and redraw until it looks right.
The Edited Photo Replaced My Original
Always look for a Save copy option. Many apps offer it, but not all make it obvious.
Specific Examples of How People Use This Feature
Here are a few everyday examples of why knowing how to draw on pictures on Android is so handy:
- Tech support for family: draw an arrow to the exact button they need to tap.
- Shopping: circle the couch, lamp, or shoes you are talking about in a screenshot.
- Work: label image feedback, highlight website changes, or mark a typo in a design draft.
- School: annotate diagrams, screenshots, or assignment instructions.
- Fun: doodle on selfies, make reaction images, or turn a regular photo into a joke for the group chat.
In other words, drawing on photos is one of those small phone skills that ends up being weirdly useful all the time.
Real-World Experiences: What It’s Actually Like to Use These Two Methods
Using the built-in editor on Android feels a lot like grabbing a sticky note and a marker when you are in a hurry. You open the image, tap Edit, find the pen tool, and get straight to the point. It is fast, practical, and perfect when you do not need your work to belong in a museum. If you are sending a screenshot to a friend and want to circle the exact restaurant, account number, or map route, this method is fantastic. It keeps you moving, which is really the whole point.
That said, the built-in approach can also feel a little bare-bones. Sometimes the line is thicker than you want. Sometimes the available colors feel limited. Sometimes you try to draw a neat arrow and end up producing something that looks like a confused carrot. It works, but it does not always feel elegant. For casual users, that is totally fine. For picky users, it can be mildly annoying in the same way crooked wall art is annoying once you notice it.
The third-party app experience is different. It feels more deliberate. You are not just marking up a photo anymore; you are editing it with intention. When you use an app with better brush control, shapes, text, and layering, the result looks cleaner and more polished. This is especially noticeable when you are making visual instructions, educational content, or graphics for social media. Instead of a quick scribble, you get something that looks like you actually planned it.
There is also a confidence boost that comes with the extra tools. If your first attempt looks messy, you can undo it, change the brush, adjust the size, add a proper arrow, and keep going. That flexibility makes the process less frustrating. It is the difference between writing with a half-dried marker and using a good pen that glides the way you expect.
But third-party apps are not always the faster choice. They may take longer to open, ask you to create an account, or tempt you with premium tools every five seconds. If all you need is to circle one button on a screenshot, launching a full design app can feel like bringing a fog machine to toast bread. Useful? Maybe. Necessary? Not even a little.
In real life, most Android users end up using both methods. The built-in editor becomes the everyday tool for speed. The app becomes the better choice for anything you want to share publicly, use professionally, or make look more polished. Once you stop thinking of them as competitors and start thinking of them as a quick tool versus a creative tool, the whole decision becomes easier.
That is the real experience in a nutshell: one method saves time, the other gives you control. And honestly, having both options on your phone is a pretty sweet setup.
Conclusion
If you want to draw on pictures on Android, you do not need complicated software or a design degree. You just need the right method for the job. For fast circles, arrows, notes, and screenshot markup, the built-in editor in Google Photos or your phone’s Gallery app is usually enough. For cleaner annotations, better brushes, and more creative control, a third-party app is the better move.
The smartest approach is simple: start with the built-in tools, and if they feel too limited, upgrade to an app. That way, you get the convenience of quick edits and the freedom of advanced photo markup whenever you need it.
And now that you know the two easiest ways to draw on photos on Android, go forth and annotate responsibly. Or irresponsibly, if the group chat deserves it.


